In this post we will aim to get IPython set up on a Raspberry Pi.
There are several reasons for doing this:
- Raspberry Pis are fairly cheap and accessible to many more people than expensive laptops.
- Raspberry Pis are very open - they run the free and open source Linux operating system, together with lots of free and open source software, including Python. Open source is important because it is important to understand how things work, to be able to share your work and enable others to build on your work. Education should be about learning how things work, and making your own, and not be about learning to buy closed proprietary software.
- For these and other reasons, they are wildly popular in schools and at home for children who are learning about computing, whether it is software or building hardware projects.
- Raspberry Pis are not as powerful as expensive computers and laptops. So it is an interesting and worthy challenge to be prove that you can still implement a neural network with Python on a Raspberry Pi.
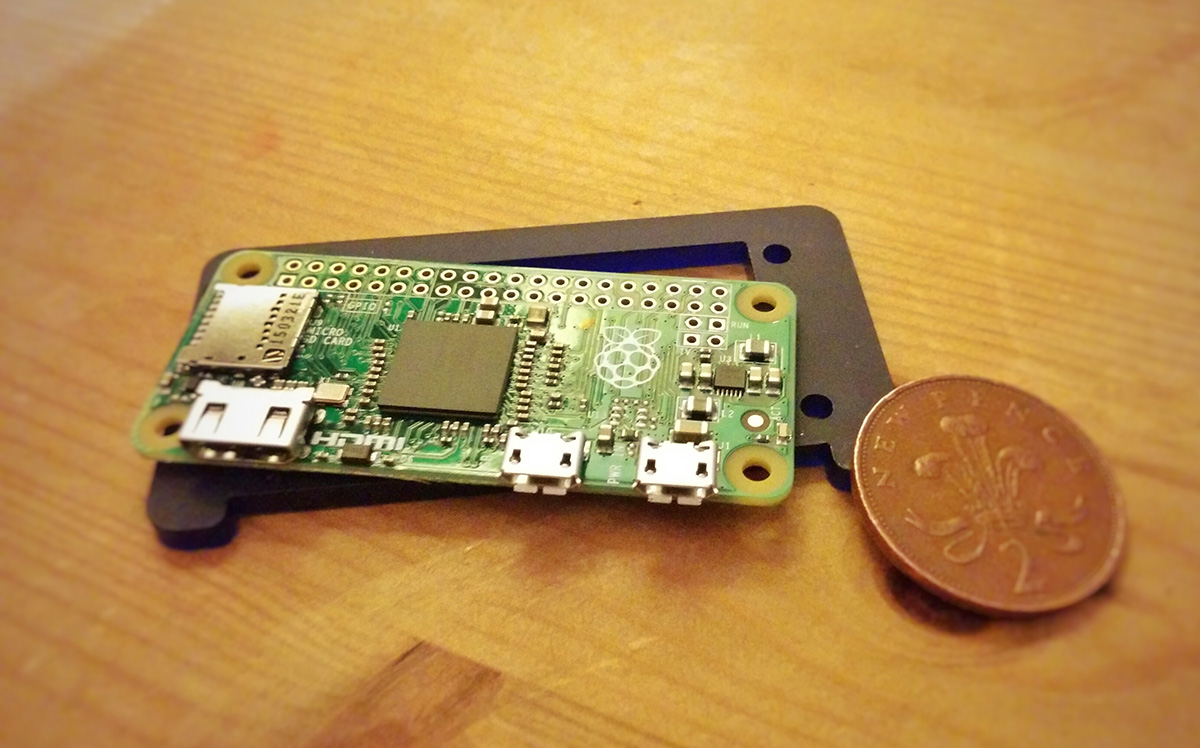
I will use a Raspberry Pi Zero because it is even cheaper and smaller than the normal Raspberry Pis, and the challenge to get a neural network running is even more worthy! It costs about £4 UK pounds, or $5 US dollars. That wasn’t a typo!
Here’s mine.
Installing IPython
We’ll assume you have a Raspberry Pi powered up and a keyboard, mouse, display and access to the internet working.
There are several options for an operating system, but we’ll stick with the most popular which is the officially supported Raspian, a version of the popular Debian Linux distribution designed to work well with Raspberry Pis. Your Raspberry Pi probably came with it already installed. If not install it using the instructions at that link. You can even buy an SD card with it already installed, if you’re not confident about installing operating systems.
This is the desktop you should see when you start up your Raspberry Pi.
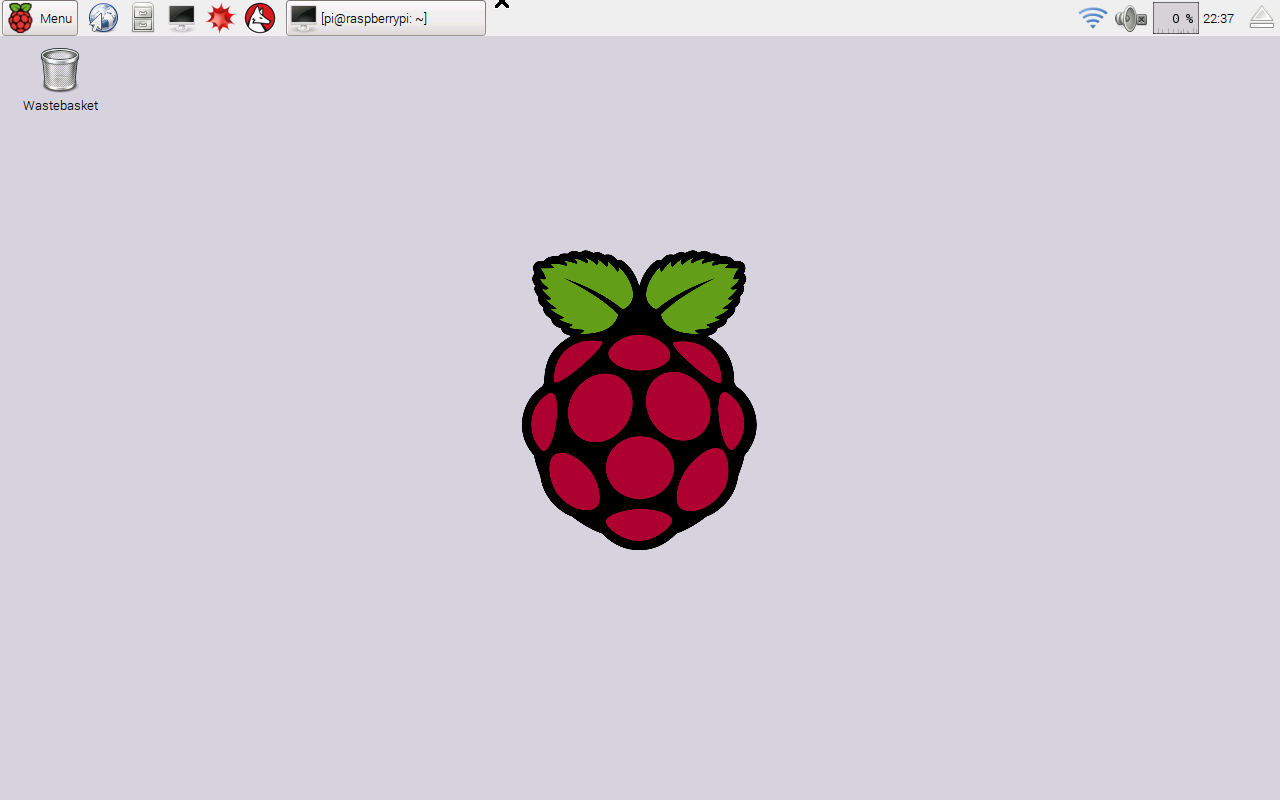
You can see the menu button clearly at the top left, and some shortcuts along the top too.
We’re going to install IPython so we can work with the more friendly notebooks through a web browser, and not have to worry about source code files and command lines.
To get IPython we do need to work with the command line, but it’ll be just once, and the recipe is really simple and easy.
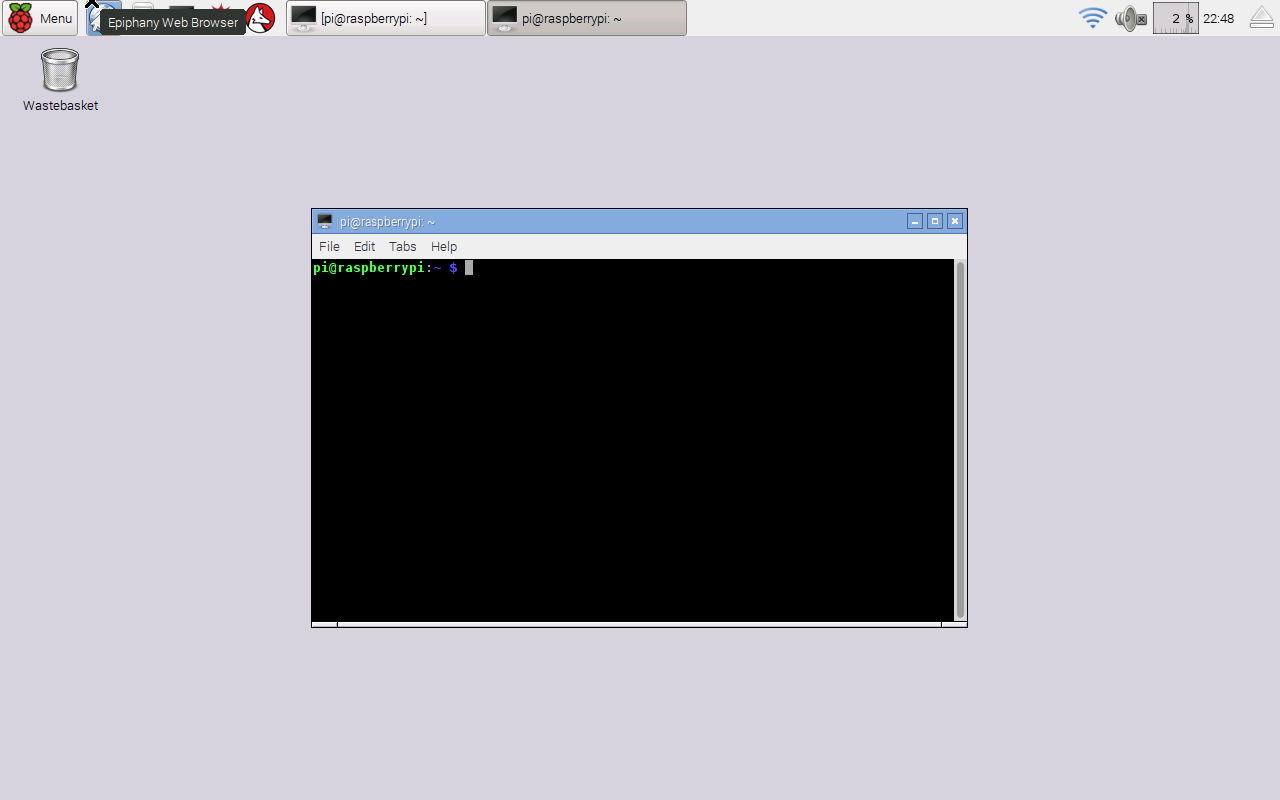
Open the Terminal application, which is the icon shortcut at the top which looks like a black monitor. If you hover over it, it’ll tell you it is the Terminal. When you run it, you’ll be presented with a black box, into which you type commands, looking like the this.
Your Raspberry Pi is very good because it won’t allow normal users to issue commands that make deep changes. You have to assume special privileges. Type the following into the terminal:
sudo su -
You should see the prompt end in with a ‘#’ hash character. It was previously a ‘$’ dollar sign. That shows you now have special privileges and you should be a little careful what you type.
The following commands refreshes your Raspberry’s list of current software, and then updates the ones you’ve got installed, pulling in any new software if it’s needed.
apt-get upgrade
apt-get update
Unless you did this recently, there will likely be software that needs to be updated. You’ll see quite a lot of text fly by. You can safely ignore it. You may be prompted to confirm the update by pressing “y”.
Now that our Raspberry is all fresh and up to date, issue the command to get IPython. Note that, at the time of writing, the Raspian software packages don’t contain a sufficiently recent version of IPython to work with the notebooks we created earlier and put on github for anyone to view and download. If they did, we would simply issue a simple “apt-get install ipython3 ipython3-notebook” or something like that.
If you don’t want to run those notebooks from github, you can happily use the slightly older IPython and notebook versions that come from Raspberry Pi’s software repository.
If we do want to run more recent IPython and notebook software, we need to use some “pip” commands in additional to the “apt-get” to get more recent software from the Python Package Index. The difference is that the software is managed by Python (pip), not by your operating system’s software manager (apt). The following commands should get everything you need.
apt-get install python3-matplotlib
apt-get install python3-scipy
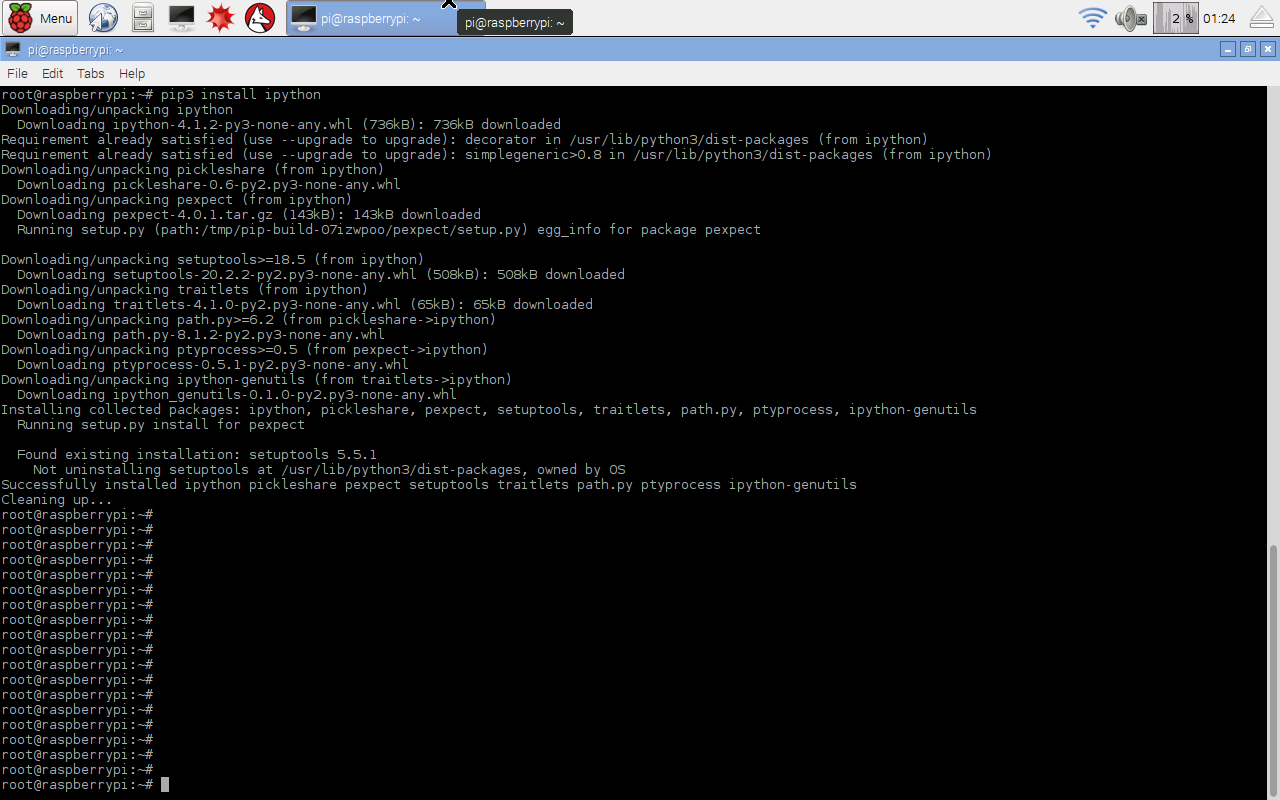
pip3 install ipython
pip3 install jupyter
pip3 install matplotlib
pip3 install scipy
After a bit of text flying by, the job will be done. The speed will depend on your particular Raspberry Pi model, and your internet connection. The following shows my screen when I did this.
The Raspberry Pi normally uses an memory card, called an SD card, just like the ones you might use in your digital camera. They don’t have as much space as a normal computer. Issue the following command to clean up the software packages that were downloaded in order to update your Raspberry Pi.
apt-get clean
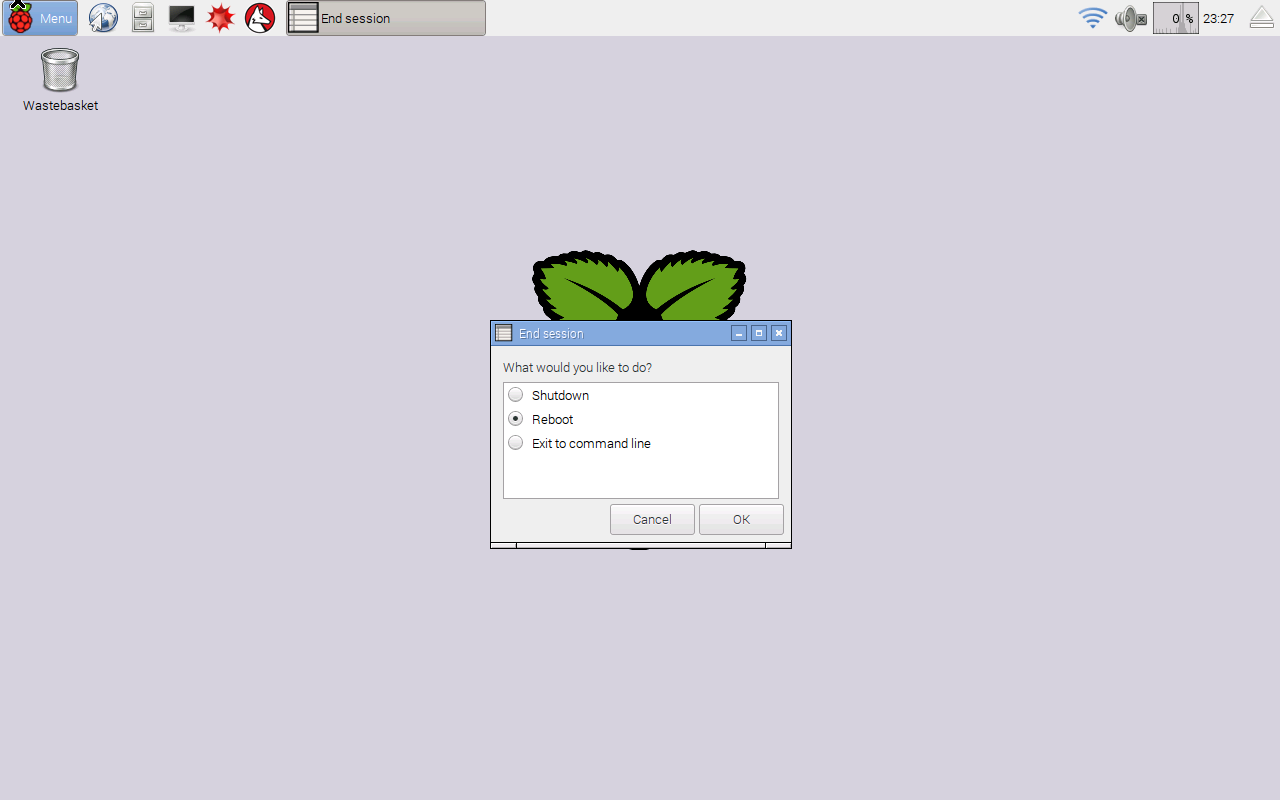
That’s it, job done. Restart your Raspberry Pi in case there was a particularly deep change such as a change to the very core of your Raspberry Pi, like a kernel update. You can restart your Raspberry Pi by selecting the “Shutdown …” option from the main menu at the top left, and then choosing “Reboot”, as shown next.
After your Raspberry Pi has started up again, start IPython by issuing the following command from the Terminal:
jupyter notebook
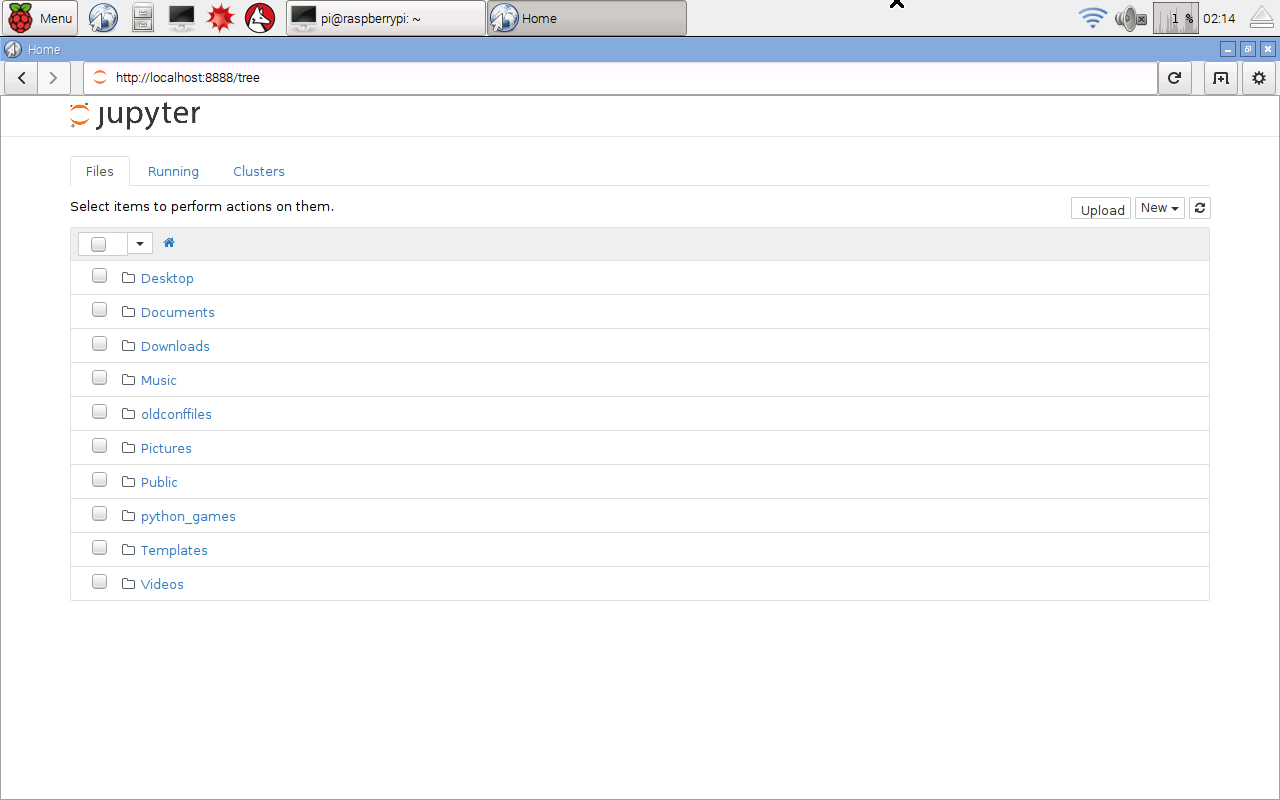
This will automatically launch a web browser with the usual IPython main page, from where you can create new IPython notebooks. Jupyter is the new software for running notebooks. Previously you would have used the “ipython3 notebook” command, which will continue to work for a transition period. The following shows the main IPython starting page.
That’s great! So we’ve got IPython up and running on a Raspberry Pi.
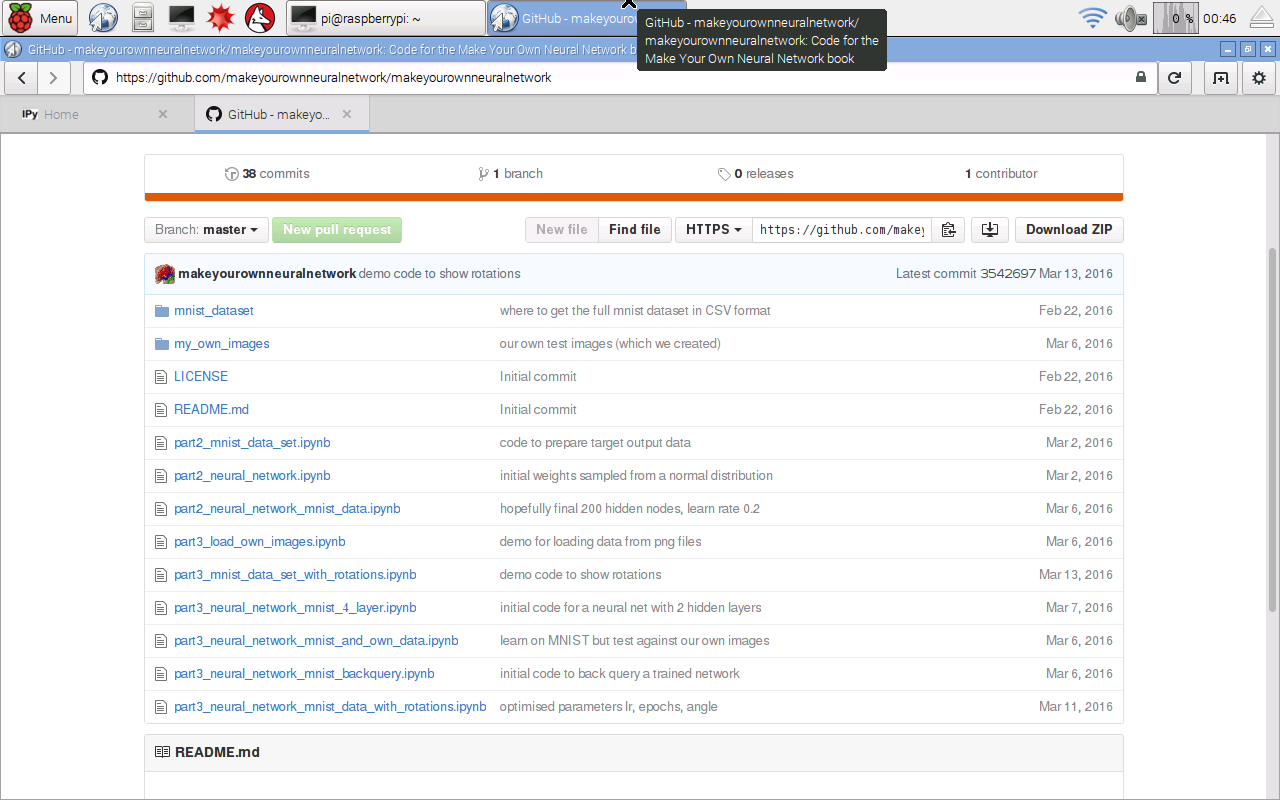
You could proceed as normal and create your own IPython notebooks, but we’ll demonstrate that the code we developed in this guide does run. We’ll get the notebooks and also the MNIST dataset of handwritten numbers from github. In a new browser tab go to the link:
You’ll see the github project page, as shown next. Get the files by clicking “Download ZIP” at the top right.
The browser will tell you when the download has finished. Open up a new Terminal and issue the following command to unpack the files, and then delete the zip package to clear space.
unzip Downloads/makeyourownneuralnetwork-master.zip
rm -f Downloads/makeyourownneuralnetwork-master.zip
The files will be unpacked into a directory called makeyourownneuralnetwork-master. Feel free to rename it to a shorter name if you like, but it isn’t necessary.
The github site only contains the smaller versions of the MNIST data, because the site won’t allow very large files to be hosted there. To get the full set, issue the following commands in that same terminal to navigate to the mnis_dataset directory and then get the full training and test datasets in CSV format.
cd makeyourownneuralnetwork-master/mnist_dataset
The downloading may take some time depending on your internet connection, and the specific model of your Raspberry Pi.
You’ve now got all the IPython notebooks and MNIST data you need. Close the terminal, but not the other one that launched IPython.
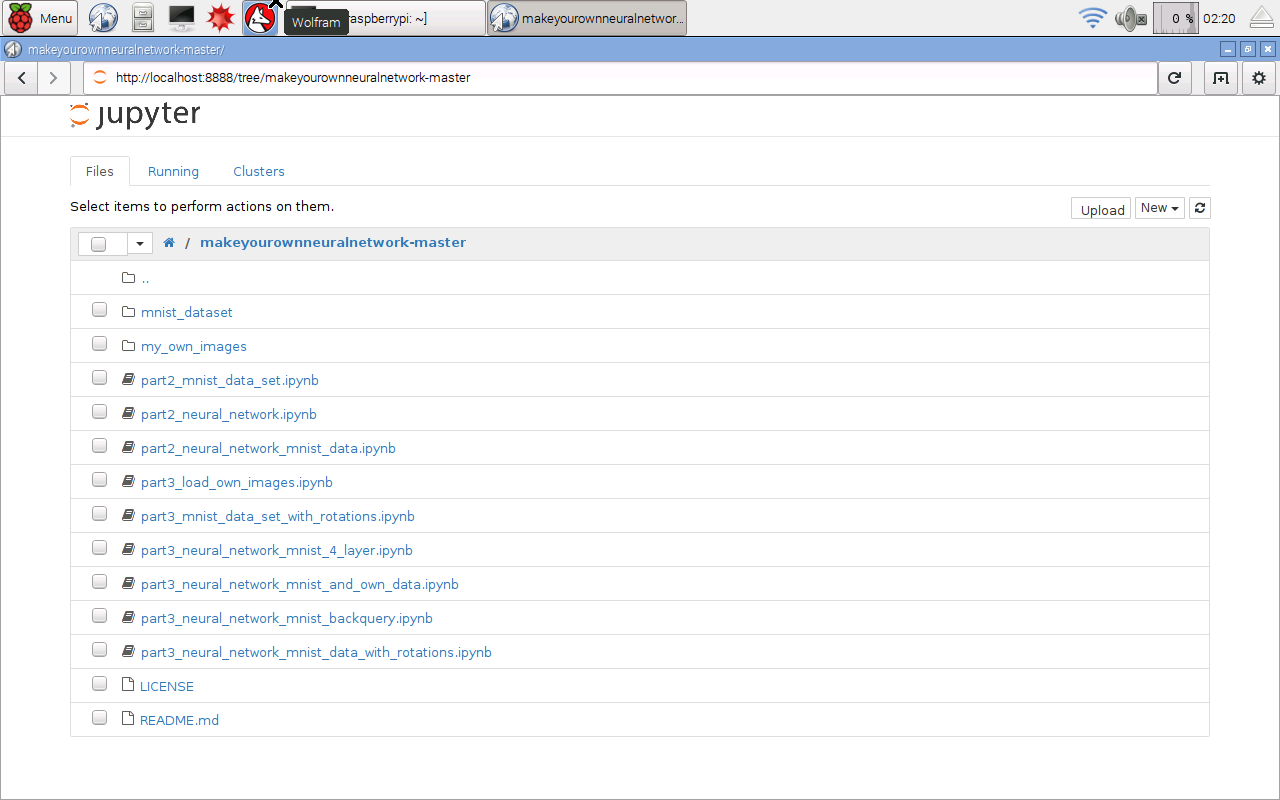
Go back to the web browser with the IPython starting page, and you’ll now see the new folder makeyourownneuralnetwork-master showing on the list. Click on it to go inside. You should be able to open any of the notebooks just as you would on any other computer. The following shows the notebooks in that folder.
Making Sure Things Work
Before we train and test a neural network, let’s first check that the various bits, like reading files and displaying images, are working. Let’s open the notebook called “part3_mnist_data_set_with_rotations.ipynb” which does these tasks. You should see the notebook open and ready to run as follows.
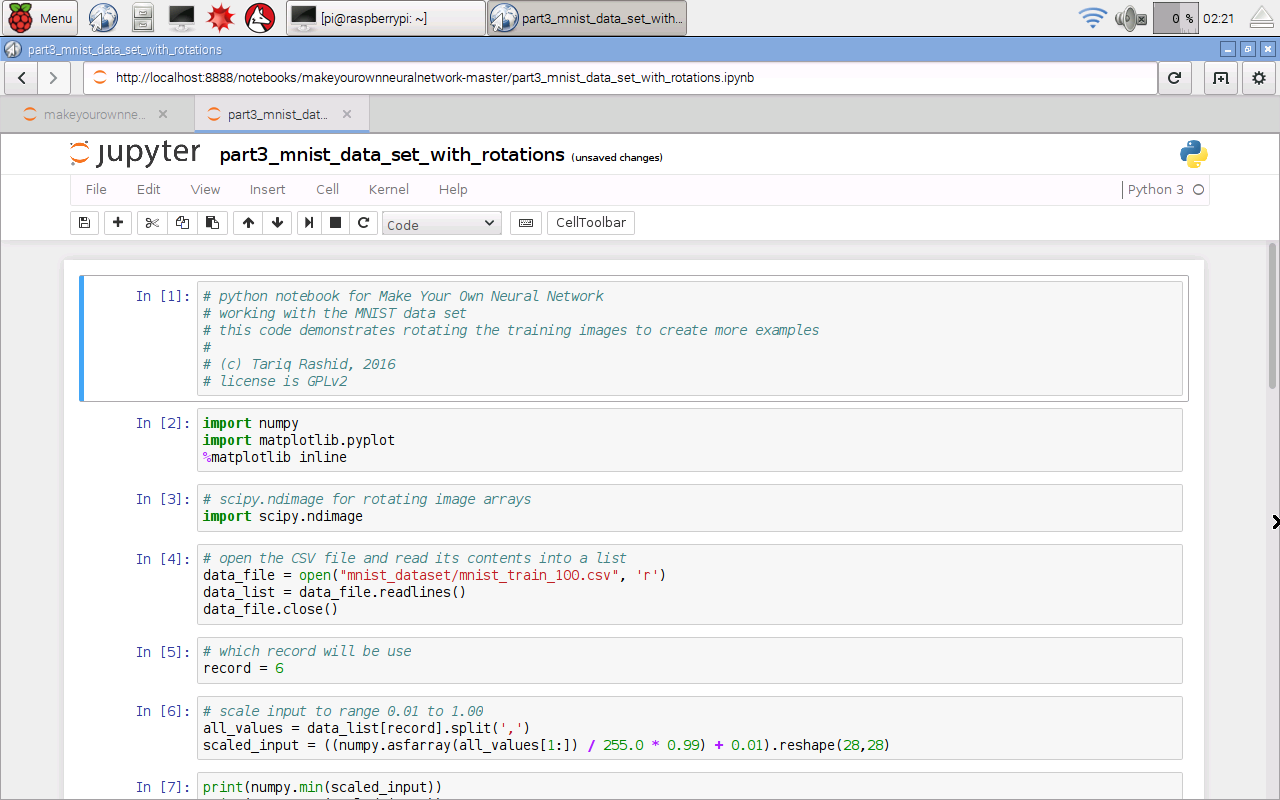
From the “Cell” menu select “Run All” to run all the instructions in the notebook. After a while, and it will take longer than a laptop, you should get some images of rotated numbers.

That shows several things worked, including loading the data from a file, importing the python extension modules for working with arrays and images, and plotting graphics.
Let’s now “Close and Halt” that notebook from the File menu. You should close notebooks this way, rather than simply closing the browser tab.
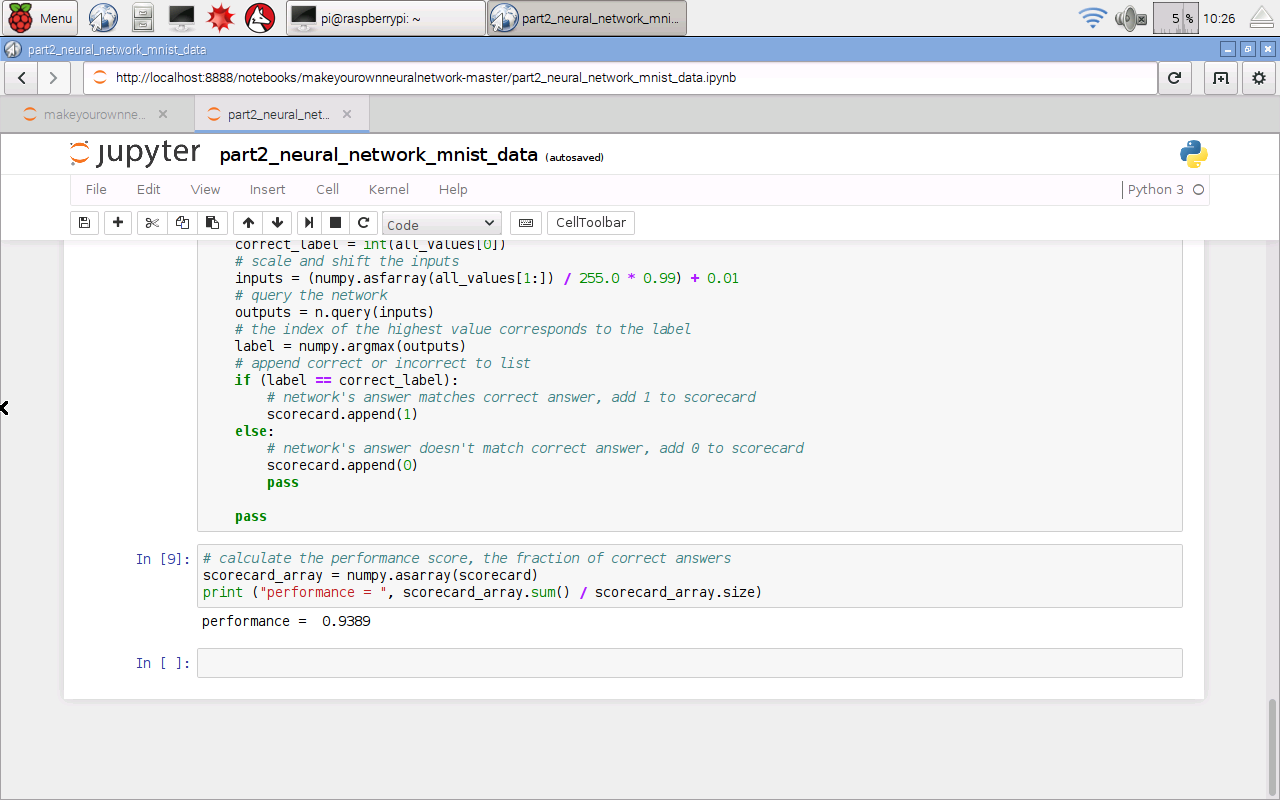
Training And Testing A Neural Network
Now lets try training a neural network. Open the notebook called “part2_neural_network_mnist_data”. That’s the version of our program that is fairly basic and doesn’t do anything fancy like rotating images. Because our Raspberry Pi is much slower than a typical laptop, we’ll turn down some of parameters to reduce the amount of calculations needed, so that we can be sure the code works without wasting hours and finding that it doesn’t.
I’ve reduced the number of hidden nodes to 50, and the number of epochs to 1. I still used the full MNIST training and test datasets, not the smaller subsets we created earlier. Set it running with “Run All” from the “Cell” menu. And then we wait ...
Normally this would take about one minute on my laptop, but this completed in about 25 minutes. That's not too slow at all, considering this Raspberry Pi Zero costs 400 times less than my laptop. I was expecting it to take all night.
Raspberry Pi Success!
We’ve just proven that even with a £4 or $5 Raspberry Pi, you can still work fully with IPython notebooks and create code to train and test neural networks - it just runs a little slower!